I have done a few makeup looks on my facebook page recently <click here for a snoop> and I have got so many requests from clients to do one on contouring.
Yes we can all thank Kim Kardashion for her highlighting/contouring selfie she posted, which started this craze for you lot! Makeup Artists work this technique on every makeup application whether it is a natural makeup or a night time party look. There are so many tutorials on this at present and I believe you need good judgement & to be able to decide which part of your own face needs contouring.
Still not getting it?? Call in to me at the salon :)
This is a very easy guide - start with very little product on clean primed skin. For contouring & highlighting you can use either foundation or a concealer cream. I change all the time as it depends on the condition & tone of the skin.
So here I am (looking a little scary!) with the highlighter. For the highlight I use Mac studio fix fluid foundation in NC15, try get one maybe 2/3 shades lighter than your own skin tone. You highlight the highest points on your face.
Using my finger I applied the foundation down along the center of my nose (to create the illusion of a slimmer nose), on the centre of my forehead and centre of my chin (this elongates my face).

I also applied the highlighter under my eyes in a V-shape to accentuate my contouring later. This step also helps brighten under the eyes.
Use a little highlight on the side of the jawline to slim down a round face.

Next is the contouring. Again get a foundation or concealer 2/3 shades darker than your own skin.
I applied NW45 with my finger and using light movements work down both sides of the nose first.
Add a slight amount underneath the lip at both sides (you don't have to be too neat as we blend all this later)

Find your cheekbone and directly underneath contour with the foundation. Take the contour right up to your temple.
For the jawline apply it underneath the highlighter as seen on picture below.

Now blending time!
Using your finger gently blend the highlighter with the contouring foundation, one side of the face at a time.
On the cheekbone I blended the contour upwards towards the highlight. Be careful not to disturb the cheekbone line.
On the jawline I blended the contour downwards onto the neck. This creates a shadow on the area.
For the nose I blended the contour line downwards onto my skin and did not touch the highlight.

Next apply your foundation very gently. If you blend the foundation in too much you will loose all your contouring work! The best way is use a larger brush (like the Mac 187 stippling brush) and buff the foundation on.
Blush and eye makeup can be done at this stage also.
And Voliá!

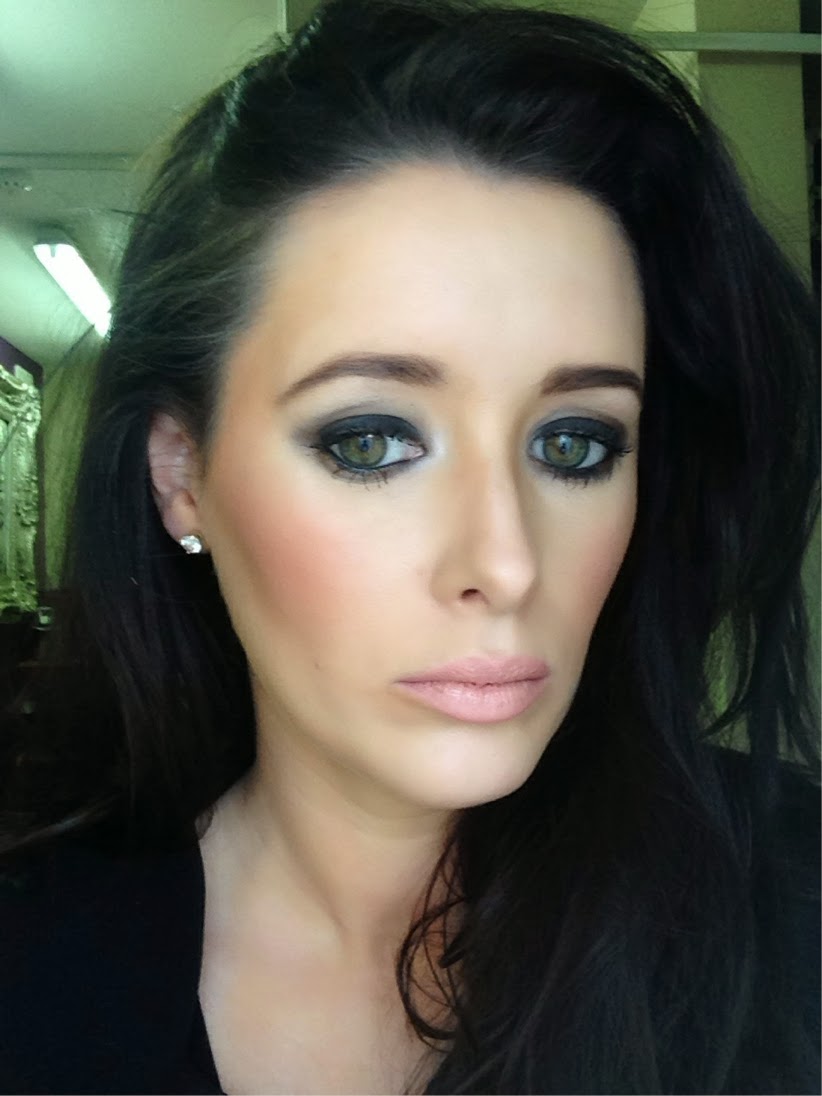
I finished off my look with a soft smokey eye look. The product list can be found on my Facebook page, click <here>

My tip?? Work with a small amount of product, don't be too heavy handed and if it's not working out right leave it and ask a pro!
Enjoy and let me know how you get on! A x
No comments
Post a Comment